In today’s fast-paced digital world, decision-making needs to be fast, accurate, and personalized. Whether you’re building a customer support bot, creating a lead qualification system, or simplifying internal operations, interactive decision trees offer a powerful solution.
Thanks to ChatGPT’s advanced conversational abilities and customizable memory, you can now build AI-powered decision trees that respond dynamically to user inputs, offering a truly engaging experience.
In this blog, we’ll walk you through how to build your own interactive decision trees in ChatGPT, with tool suggestions and practical examples.
What Is an Interactive Decision Tree?

An interactive decision tree is a structured, logic-based flow of questions and responses designed to guide users to specific outcomes. Think of it like a “choose-your-own-adventure” game — but for customer support, intake forms, troubleshooting, or even business strategy.
Traditionally, decision trees are static charts. But with ChatGPT, they can be turned into live, responsive, and personalized conversations.
Step 1: Map Out Your Decision Logic
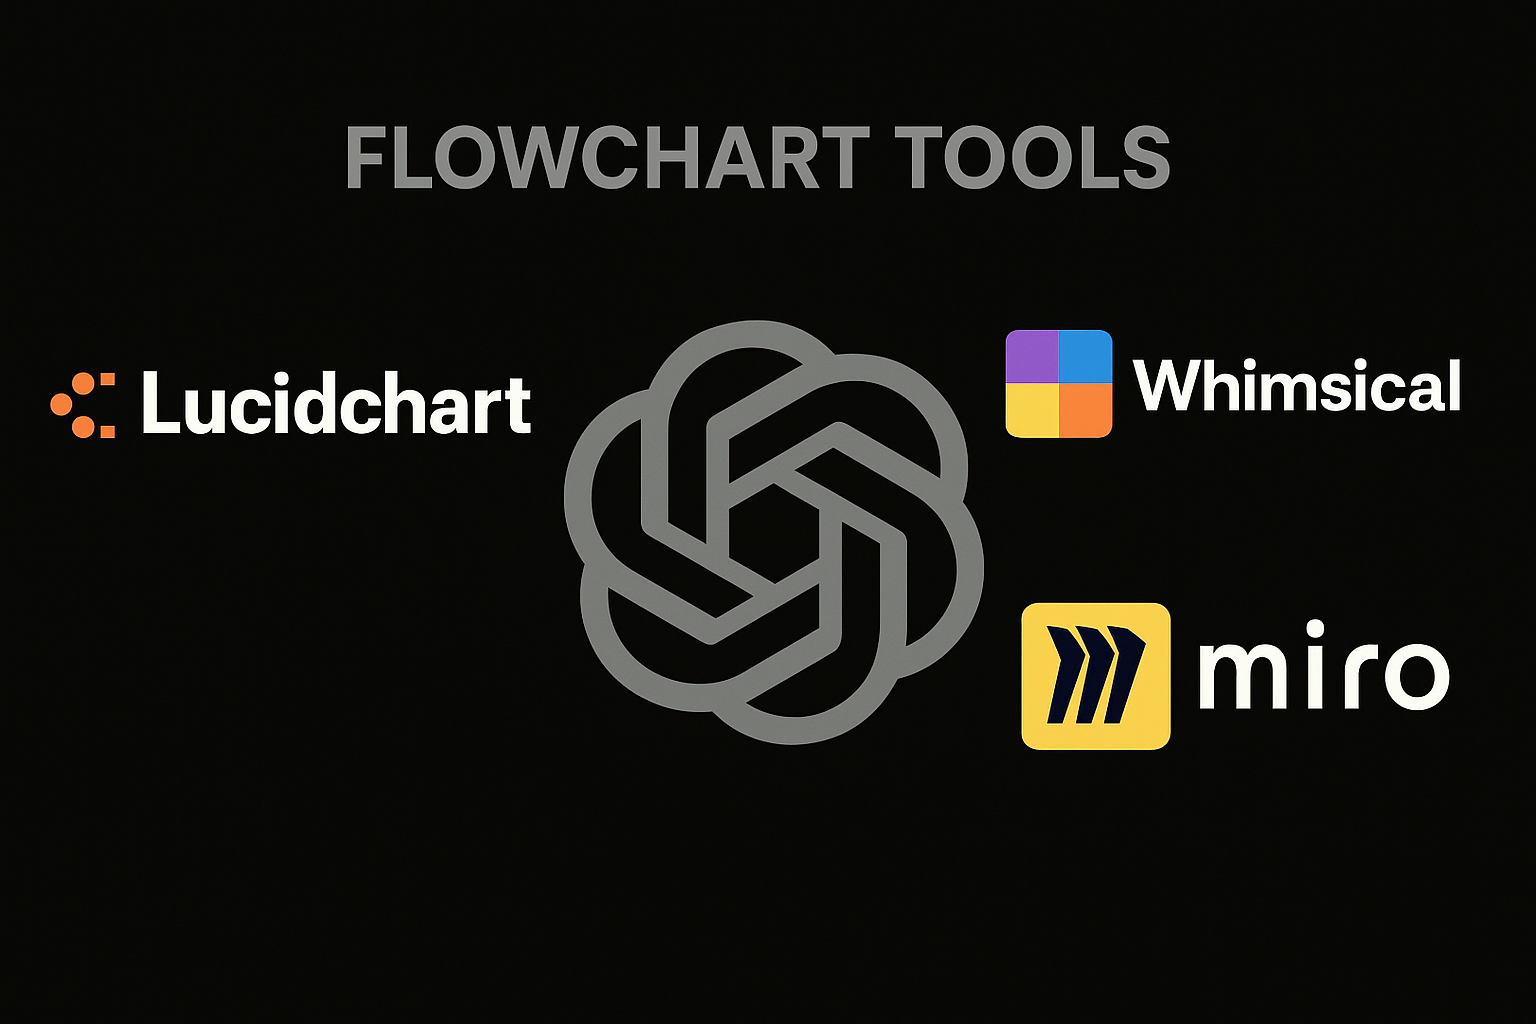
Before jumping into ChatGPT, you need a clear idea of the decision paths. Use flowchart tools like:
These tools allow you to map out branches like:
- If user answers A → ask B
- If user answers B → give result C
Design your flow with logic in mind: “If this, then that.”
Step 2: Structure the Tree Using Prompts
Once the flow is ready, the next step is translating each node into ChatGPT-friendly prompts. Each prompt should:
- Ask a clear question
- Offer options if needed
- Wait for user input before moving on
Example:
less
CopyEdit
ChatGPT Prompt:
Welcome! What do you need help with today?
- Troubleshooting
- Pricing
- Features
Please choose A, B, or C.
Based on the answer, you’ll create a new branch prompt for each path.
Step 3: Use ChatGPT’s Memory or Custom GPTs
For truly interactive decision trees, use:
- Custom GPTs: These allow you to pre-build flows and assign specific behaviors to your bot
- Memory Feature: Helps ChatGPT remember past answers in the conversation, enabling context-aware branching
You can also embed personality, tone, and instructions directly into the custom GPT to control how decisions are delivered.
Step 4: Add Button-Based Interaction (Optional via Plugins)
To enhance user experience, you can incorporate button-like interactions using tools like:
These can be integrated with ChatGPT via Zapier or Make.com to connect decision paths visually.
Step 5: Test and Refine the Flow
Before deploying, test your tree with real users. Look out for:
- Confusing branches
- Missing paths
- Loops or dead ends
- User drop-off points
Track how many people reach the end goal, and where they drop off.
Use tools like:
- Make.com for automation
- Airtable for backend logic and user input tracking
- Google Analytics to track user journeys
Step 6: Deploy and Share
You can use your decision tree via:
- A Custom GPT shared with your team or audience
- Embedding on a website via no-code chatbot tools like Landbot
- Deploying as a support tool in your business workflows
Always update the tree based on new insights and user behavior.
Use Cases of ChatGPT-Powered Decision Trees
- Customer Support: Help users troubleshoot step-by-step
- Sales Qualification: Route leads based on budget, goals, and timeline
- Course Enrollment: Guide students to the right program
- Job Application: Automatically screen and segment applicants
- Product Recommendations: Personalize suggestions in real-time
Final Thoughts
Interactive decision trees built using ChatGPT can revolutionize how your business engages with users. They’re not only easy to set up with no-code tools but also highly scalable and efficient.
From automation to personalization, this is the future of customer experience.